Connect GitLab
Applies to gitlab.com, GetGeek's Managed GitLab and other self-hosted GitLab instances. You need the Maintainer or Owner role in the project.
You need the deploy key and the webhook address from us (see Getting started).
1. Add the deploy key
- Open the project and go to Settings → Repository.
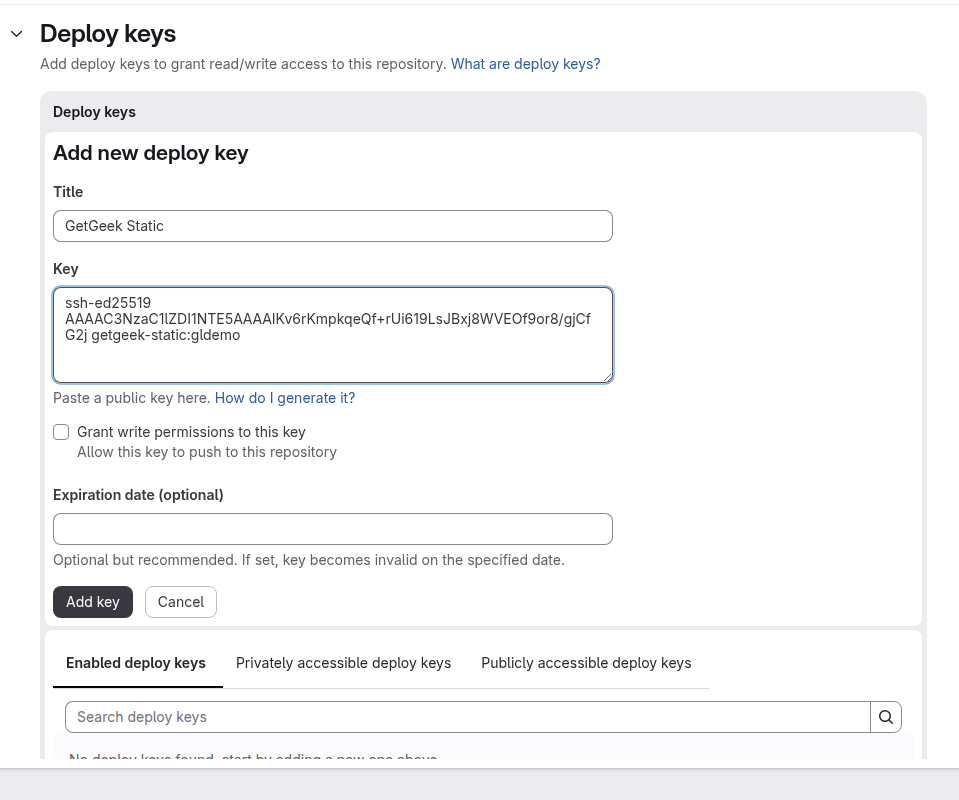
- Expand Deploy keys and click Add new key.
- Fill in:
- Title:
GetGeek Static(any name) - Key: the whole key from us, the line starting with
ssh-ed25519 - Grant write permissions to this key: must be unticked. We only need to read.
- Expiration date: leave empty — otherwise builds stop working on that date.
- Title:
- Click Add key.
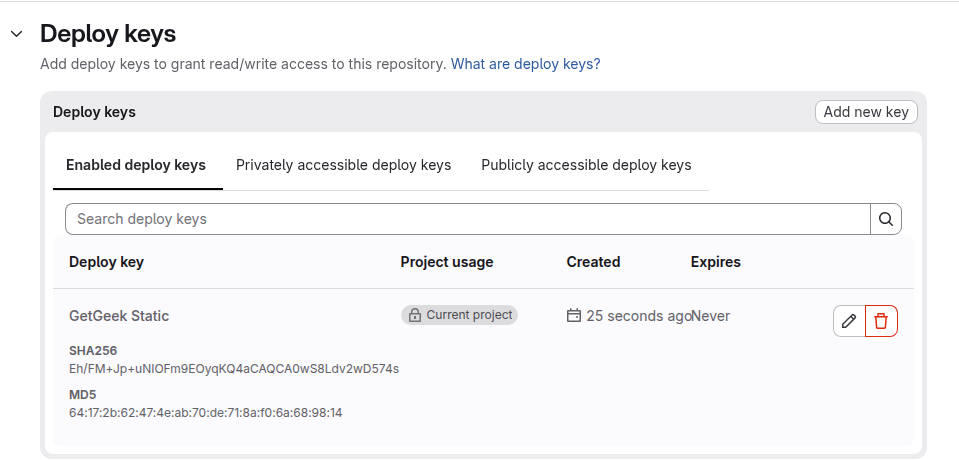
The key then appears in the list:
2. Add the webhook
- Go to Settings → Webhooks and click Add new webhook.
- Fill in:
- Name:
GetGeek Static(optional) - URL: the webhook address from us
- Trigger: tick Push events, with All branches.
- Name:
In newer GitLab versions no event is selected when you create a webhook. If you forget Push events, the webhook is saved without an error — but it never sends anything, and nothing gets built.
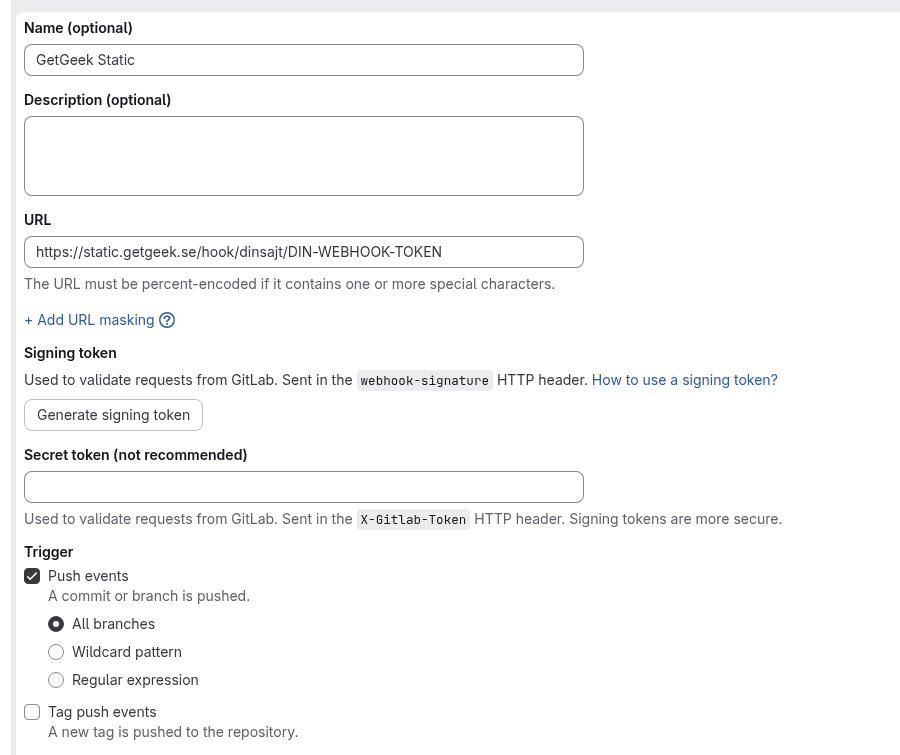
Click + Add URL masking below the URL field and mask the last part of the
address (after /hook/<site>/). It is then shown as {token} in GitLab, even to
others with access to the project's settings.
- Leave Enable SSL verification ticked and click Add webhook.

3. Test
In the list of webhooks, click Test → Push events. A green message at the top of the page means we have received the request and started a build.

If you get an error message instead, see Troubleshooting.